One-Click Import
1. First of all, make sure that you’re using a PHP version of at least 5.6. WordPress now recommends 7.0 and over.
2. Since WordPress themes are getting more robust and complex, it’s necessary to release more power from server. You can do this by editing the php.ini file or by asking your hosting provider to do this for you.
We recommend the following settings:
max_execution_time = 300;
memory_limit = 128M;
upload_max_filesize = 128M;
post_max_size = 256M;
3. After installing and activating your theme, navigate to Plugins from your admin panel. You will see a notice at the top asking you to install required plugins.
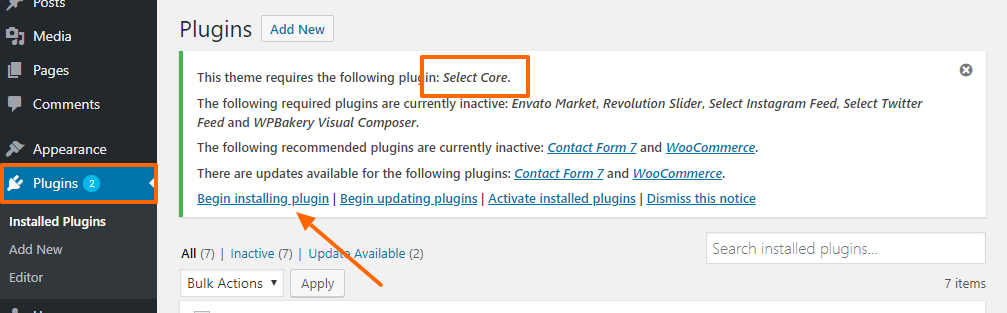
Go ahead and install all required plugins, except:
- WPBakery
- Slider Revolution
- LayerSlider
You will install these later on – we’ll explain how.
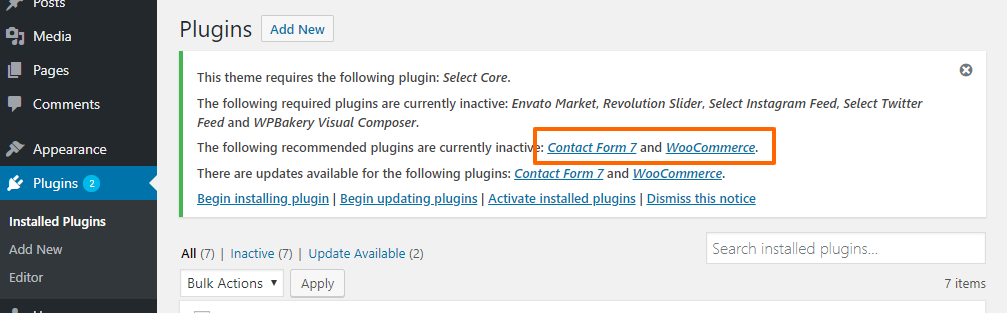
If you plan on running shop or using the contact forms from our demo site, then you should install and activate WooCommerce and Contact Form 7.
Deactivate all other plugins on your WordPress site. This is important in order to free up your server sources.
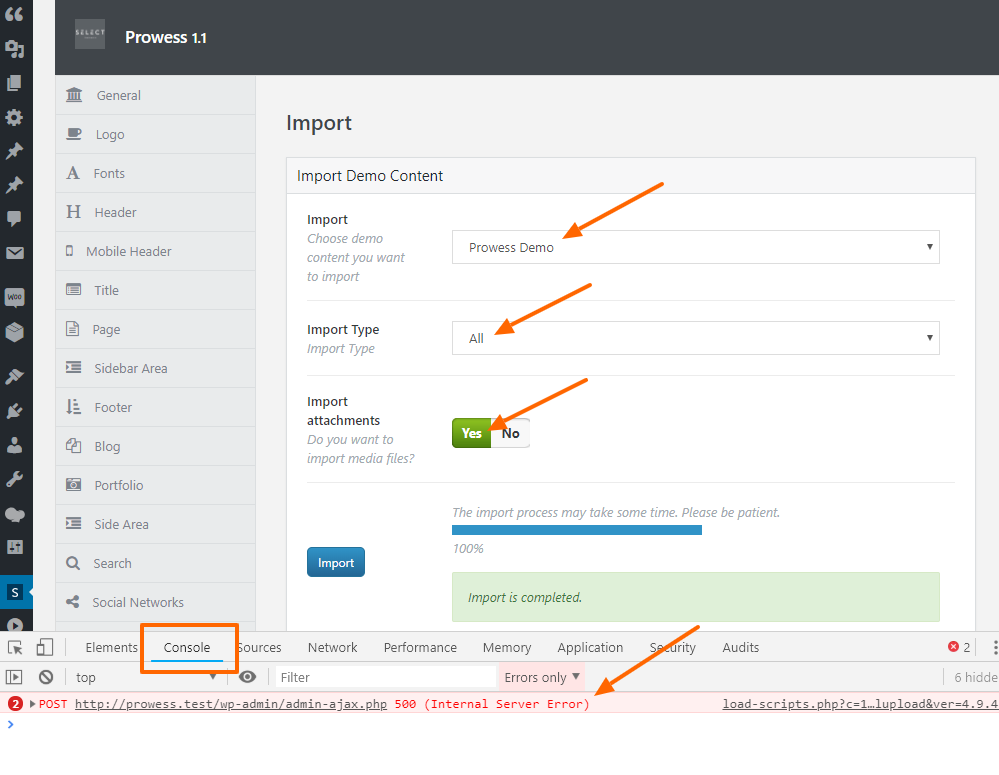
4. Navigate to Theme Import from your admin panel.
With some of our themes, under Import, you’ll see only one demo site in the dropdown list. With others, there are several demo sites available for import.
If you see several demo sites in the dropdown list, select your demo site of choice. Otherwise, set the only choice available.
Set Import Type to All, and Import Attachments to Yes.
Right click and choose Inspect. Click on the Console tab.
Click on the Import button. If you see any errors in the console, click on Import again. Repeat this process until the progress bar reaches 100%.
If you’ve waited for a while and the demo didn’t import fully, you can try importing via XML import.
5. After the demo import is complete, navigate to Plugins. You should activate WPBakery and any other plugins you plan on using.
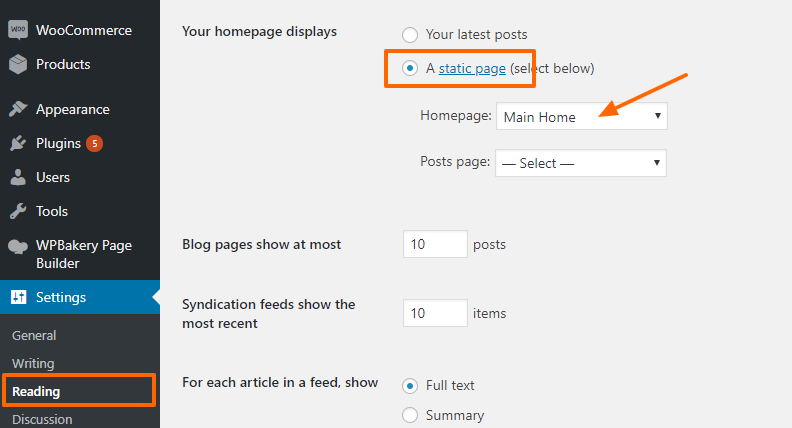
6. Navigate to Settings > Reading and set your page of choice as your home page.
7. Navigate to Settings > Permalinks > Common Settings and choose Post name. Click on Save Changes.
8. Navigate to Theme Options and click on Save in order to generate a new dynamic CSS file.
9. If you plan on importing sliders created with Slider Revolution or LayerSlider, then these need to be imported separately.
For Slider Revolution, click on Slider Revolution from your admin panel and then on Import Slider.
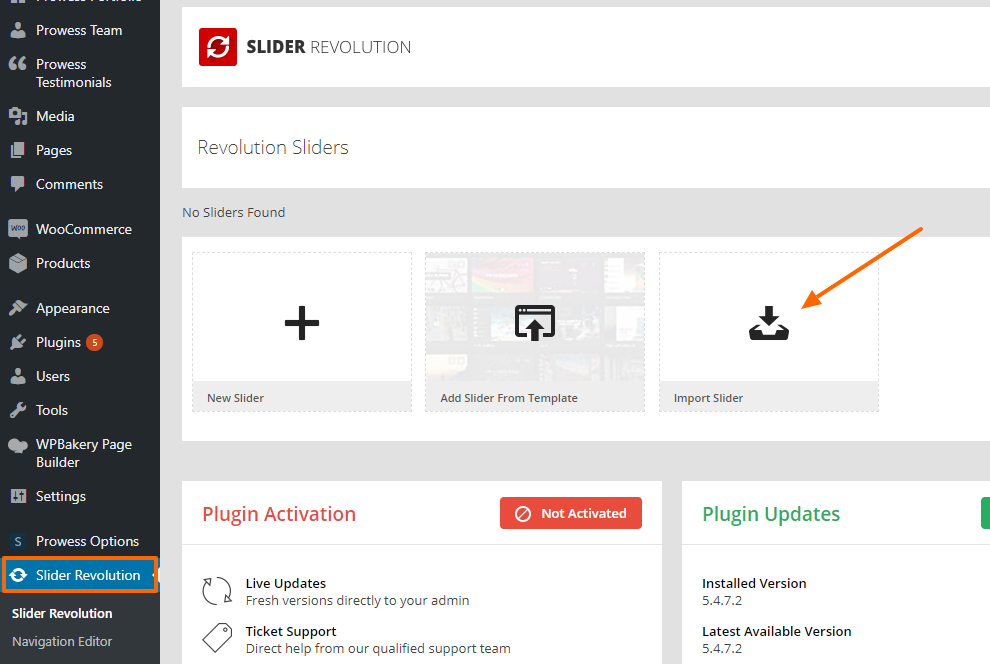
Open up the extracted folder containing theme files & documentation which you downloaded from ThemeForest. Navigate to xml export\revslider and upload the slider ZIP files.
We recommend setting Slider Revolution’s Global Settings the same as we have. See Slider Revolution (Plugin Installation).
For LayerSlider import, click on LayerSlider WP > Sliders from your admin panel and then on Import Sliders.
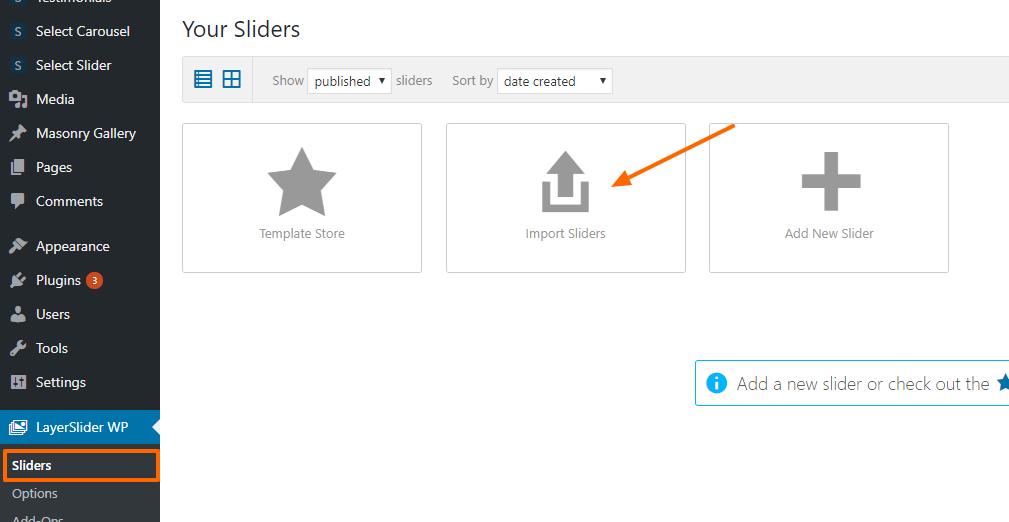
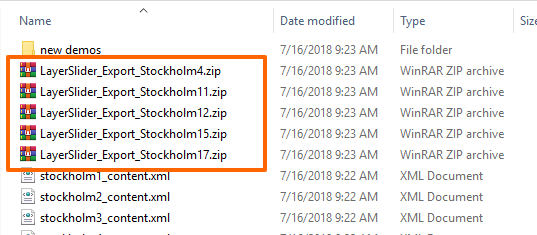
Open up the extracted folder containing theme files & documentation which you downloaded from ThemeForest. Navigate to xml export and upload the slider ZIP files.
You should now see the imported sliders on your site.
If you’re seeing error messages for sliders not being found, this could be because the sliders were assigned different IDs on your site than they have been on our demo site.
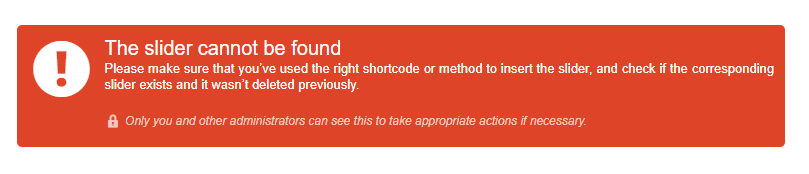
In that case, simply open this page, find the slider’s shortcode, and select your slider from the dropdown list.
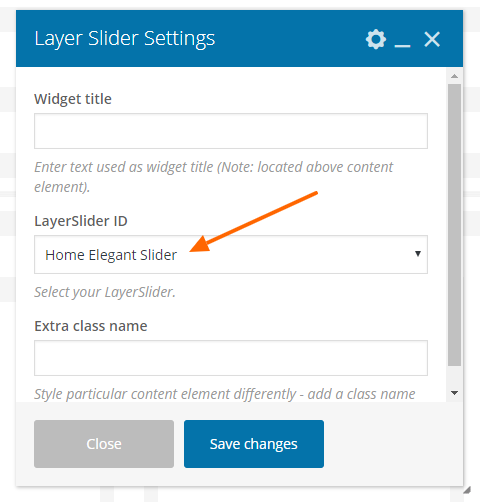
Click on Save changes.
10. Navigate to Appearance > Menus and assign your menus to corresponding menu locations:
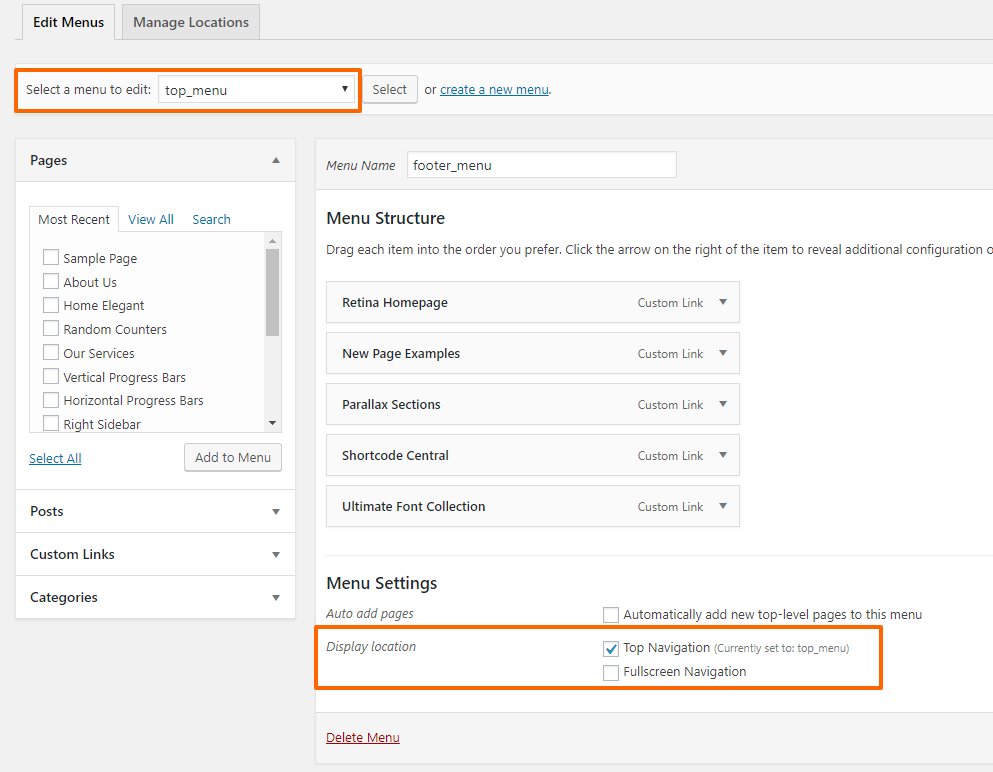
Sometimes you might see very long menus with duplicated menu items. Menu item duplication can occur during demo import, especially if you’ve clicked on the Import button several times. In that case, you can simply delete the extra menu items.
The Quick remove menu item plugin can help you quickly delete extra menu items. You will see an X icon next to the menu items, so that you can delete them with one click.
Alternatively, you can delete the imported menus and create your own menu from scratch.