How to set up the checkout process
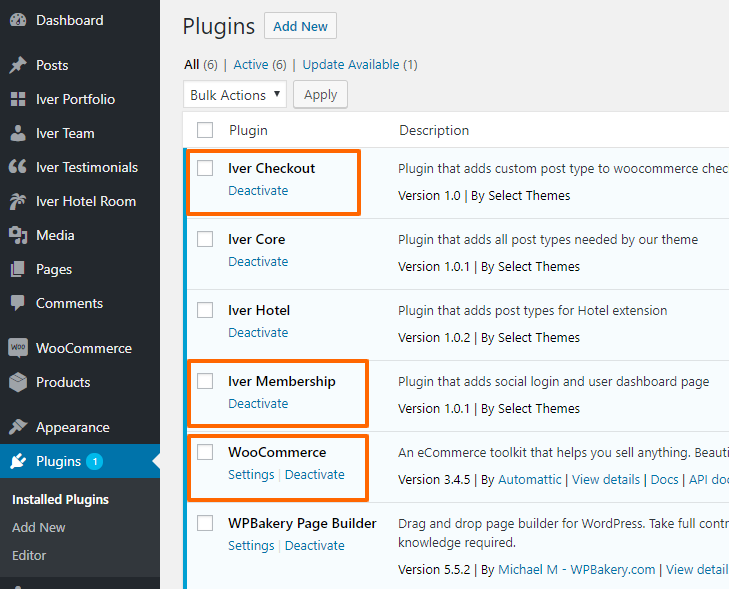
1. Navigate to Plugins from your admin panel. Make sure that Iver Checkout, Iver Membership, and WooCommerce are installed and activated.
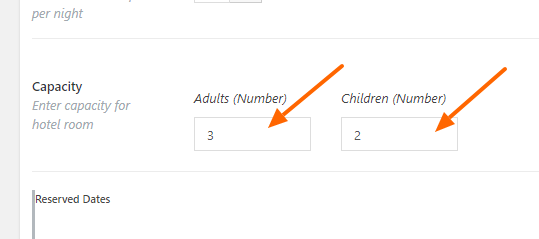
2. On your room page, check to make sure that you filled out a capacity amount.
3. Please note that site visitors need to be logged in in order to make bookings. Navigate to Settings > General > Membership and check the box next to Anyone can register.
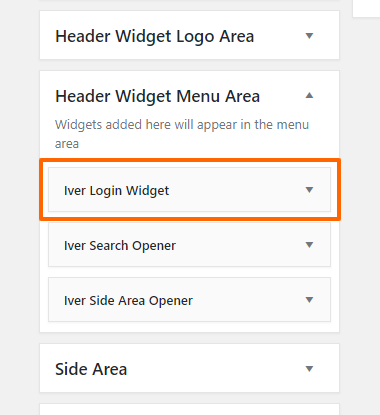
4. Navigate to Appearance > Widgets and add the Iver Login Widget to your header widget area.
Your visitors should now be able to create accounts, make reservations, and complete the booking process through WooCommerce.